Renaming an email address in Plesk changes the part of the address before the @ sign (the local part, sometimes called the mailbox name or username) while keeping the same mailbox, its stored messages, and its settings. This guide shows you how to rename an address on Noiz Plesk hosting, and explains what the rename does and does not change so you are not caught out by mail delivery or by email clients that suddenly stop connecting.
Last reviewed: 27 July 2026, against Plesk Obsidian 18.0 (latest stable). This guide is written for Noiz hosting and is kept current against Plesk. It complements, and does not replace, the official Plesk documentation linked below.
Official Documentation Reference
- Plesk Obsidian Customer Guide (see the Mail section for creating and managing email accounts)
Prerequisites
- Access to your Plesk account for the subscription that hosts the mailbox.
- The email address you want to rename already exists under your domain.
Rename the email address
- Log in to your Plesk account.
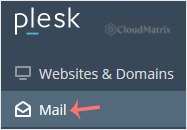
- Click Mail in the sidebar menu.
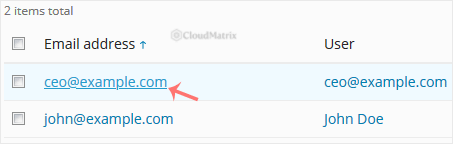
- In the Email Addresses list, click the email account you want to rename.
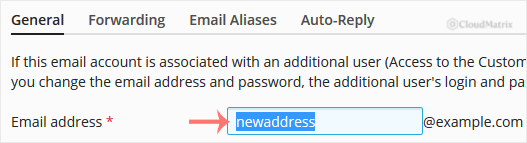
- In the Email address field, type the new name for the part before the @ sign. Leave the domain unchanged unless you also want to move the mailbox to another domain on the same subscription.
- Scroll down and click OK.
What the rename changes, and what it does not
- The mailbox and its messages are kept. Renaming edits the existing account in place, so stored mail, folders, filters, and any auto-reply stay with the new address. You are not creating a fresh, empty mailbox.
- The password does not change. The existing password stays in place unless you set a new one on the same screen.
- Mail clients need updating. The username for webmail, IMAP, POP3, and SMTP is the full email address, so any desktop or phone app configured with the old address will stop connecting until you change its account username to the new address. The password is unchanged.
- Mail sent to the old address will no longer arrive. Once renamed, the old address no longer exists. If people still write to it, add the old address back as an email alias: open the renamed account, add the old address in the Email Aliases section, and click OK. Messages to the old address then land in the renamed mailbox.
Troubleshooting
Symptom: OK is greyed out, or Plesk reports that the email address already exists. Fix: the name you chose is already in use on that domain. Choose a different local part.
Symptom: webmail or your mail app stops working straight after the rename. Fix: update the account username in the client to the new full email address. The password is unchanged, so nothing else needs to be re-entered.
If you are on a managed Noiz plan and would rather Noiz rename a mailbox or set up an alias for you, open a support ticket from your client area and the team will take care of it.






