This guide shows you how to create a database user in Plesk and attach it to one of your databases. A database user is the account your website or application uses to read from and write to its MySQL or MariaDB database, so you will normally create one whenever you set up a new site, content management system, or app that stores its own data.
Last reviewed: 27 July 2026, against Plesk Obsidian (latest stable). This guide is written for Noiz hosting and is kept current against Plesk. It complements, and does not replace, the official Plesk documentation linked below.
Official Documentation Reference
- Plesk Obsidian Customer Guide. See the Databases section for the full reference on managing databases and database users.
Prerequisites
- An active Noiz hosting plan with access to Plesk.
- At least one database already created for the user to belong to. If you have not created one yet, add it first from the same Databases page.
Create the Database User
- Log in to your Plesk account.
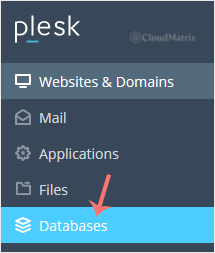
- Click Databases in the sidebar menu.
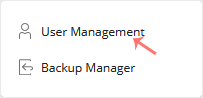
- Click User Management in the right-hand sidebar.
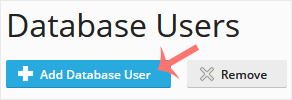
- Under Database Users, click Add Database User.
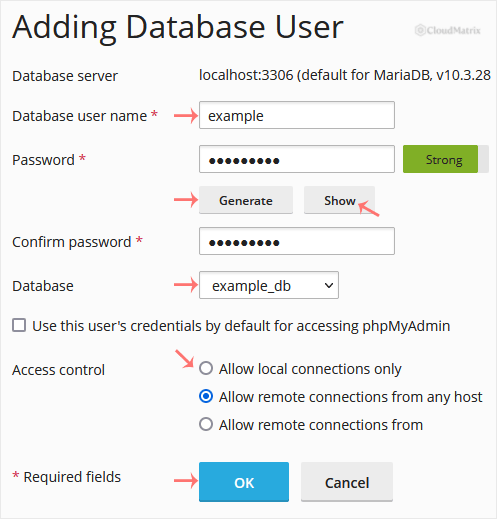
- Under Adding Database User, fill in the following details:
- Database user name: Enter a username, for example
blog. - Password: Enter a password, or click Generate to have Plesk create a strong one for you. Click Show and copy the password somewhere safe before you leave the page, as Plesk will not show it to you again.
- Database: Choose the database this user should belong to from the drop-down menu.
- Access control: Choose the option that suits how the database will be reached. See Choosing the right access control below if you are unsure.
- Database user name: Enter a username, for example
- Confirm with OK. Your new database user is created and ready to use.
Choosing the Right Access Control
Plesk lets you control where the user is allowed to connect from and what it is allowed to do. Two settings matter here.
- Where it can connect from. Most websites and CMS applications (WordPress, Joomla, and similar) run on the same server as the database, so Allow local connections only is the correct and safest choice. Only allow remote connections when an external service genuinely needs to reach the database over the network, and even then restrict it to the specific host that needs access.
- What it can do. A normal website needs full read and write access to its own database. If the account is only used by a reporting or backup tool that should never change data, grant a read-only role instead so a compromised or misconfigured tool cannot alter or delete your data.
In Plesk, each database user is linked to a specific database. If your application uses more than one database, create a user for each one. When you place these credentials into your application's configuration, for example wp-config.php for WordPress, the database host is normally localhost because the application and the database live on the same server.
Troubleshooting
Symptom: The application reports Access denied for user. Fix: Re-check the username and password character for character. If you are unsure of the password, edit the user in Plesk, generate and copy a fresh one, and update it in your application's configuration. Confirm the user is attached to the same database the application is trying to open.
Symptom: An external service cannot connect. Fix: The user was most likely created with local connections only. Edit the user, allow remote connections for the host that needs access, and use the server hostname rather than localhost in that service's connection settings.
Need a Hand?
If you are on a managed Noiz plan and would prefer Noiz to create the database and user for you, open a support ticket from your Noiz client area and the team will set it up.






