Scheduled Tasks in Plesk are the panel's front end for cron: they run a command, fetch a URL, or execute a PHP script automatically on a schedule you set. Follow this guide to create one on your Noiz Plesk hosting, whether you need a nightly database backup, a Laravel scheduler tick, a WordPress wp-cron replacement, or any recurring maintenance job.
Last reviewed: 27 July 2026, against Plesk Obsidian 18.0 (latest stable). This guide is written for Noiz hosting and is kept current against Plesk. It complements, and does not replace, the official Plesk documentation linked below.
Official Documentation Reference
Prerequisites
- An active Noiz hosting subscription on a Plesk server, with login access to the Plesk panel.
- The exact command, URL, or script path you want to run, and how often it should run.
Open Scheduled Tasks
1. Log in to your Plesk account.
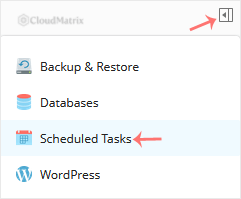
2. Go to Websites & Domains and click Scheduled Tasks. On some layouts this sits under a Dev Tools or additional tools group, so click Show More if you do not see it straight away. You can also reach it from the sidebar menu.
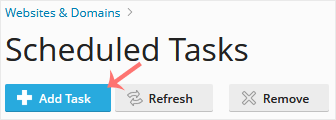
3. On the Scheduled Tasks page, click Add Task.
Configure the Task
4. Enter the task details:
- Webspace: If your subscription hosts more than one domain, choose the domain the task should run under from the drop-down.
- Task type: Choose one of the following.
- Run a command for a shell command or script (for example a backup script or a PHP CLI call).
- Fetch a URL to have Plesk request a URL on a schedule, which is the usual way to trigger a web-based cron endpoint.
- Run a PHP script to execute a
.phpfile with the PHP version selected for the domain, no interpreter path needed.
- Command / Script path: Enter the value for the type you picked. For a command, use the full absolute path to the binary and script, for example
/usr/bin/php /var/www/vhosts/yourdomain.com/httpdocs/artisan schedule:run. Relative paths and bare command names often fail because cron runs with a minimal environment. - Run: Choose how often the task runs. The simple options (Minutely, Hourly, Daily, Weekly, Monthly) fill in the schedule for you. Choose Cron style if you need a specific pattern, then enter the five crontab fields (minute, hour, day of month, month, day of week), for example
*/15 * * * *to run every 15 minutes. - Description: A short note so you can recognise the task later.
- Notify: Leave on Errors only so you are emailed when a run fails but not on every successful run. Change to Always only while testing, or to Do not notify for noisy tasks.
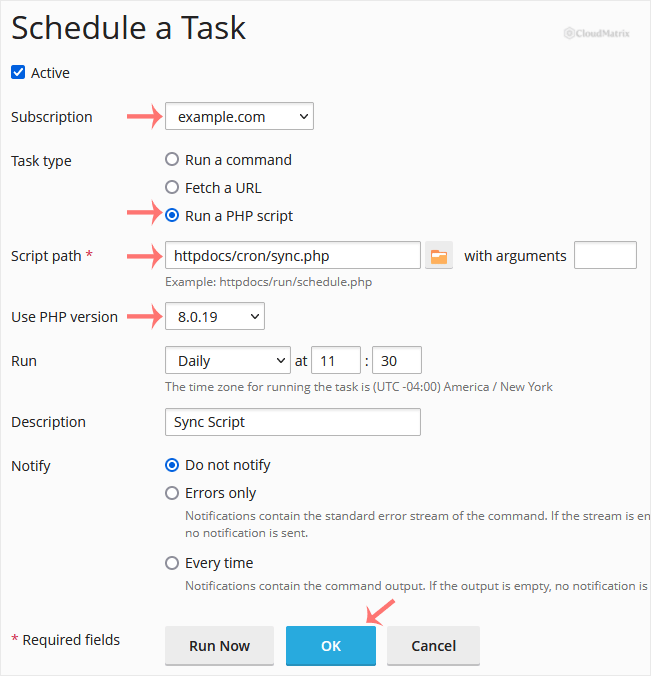
5. Click OK.
Verify the Task Runs
The task now appears in the Scheduled Tasks list and will run on the schedule you set. To confirm it works without waiting, select it and click Run Now, then check for the expected result (a new backup file, an updated database row, an email if you set Notify to Always).
Troubleshooting
The task runs but nothing happens: Check the command path is absolute and correct. Cron does not use your interactive shell's PATH, so php artisan ... may need to be written as /usr/bin/php /full/path/to/artisan ....
Permission denied or wrong PHP version: Use the Run a PHP script task type where possible, as it runs the script with the same PHP version and handler configured for the domain, avoiding version mismatches.
You do not see the Scheduled Tasks option: The feature can be disabled at the plan level. If it is missing on your subscription, contact Noiz support and it can be enabled for you.
If you would like Noiz to set up or troubleshoot a scheduled task for you, open a support ticket from your Noiz client area and the team will assist.






